Most shooters have a type A personality that drives us. That being the case, my students often ask me how to measure the skills they have. While there are multiple ways to measure skill, I like to have one that objectively allows me to measure my ability, so I can compare it to my skill level in the future. Hopefully, if I am doing what I need to do in my training and practice, that skill will show improvement.
In either case, I have found that one potential pitfall is trying to integrate measuring “tactics” in a skills test. Having said that, the skills test I will discuss does require some slight tactical observance, but the primary focus of my test — and any test you use — is on the manipulation and marksmanship skills. The problem with performing a measurement test that is too heavily weighted with tactics is that tactics are subjective, and each person has a unique spin on what they think is right. This makes running a test without an observer very difficult at best, and the results often become blurred by potential “tactical” failures. My goal when designing my skills test was to require some slight tactical procedures such as post-engagement scanning and the use of cover on the stage where it is provided. Other than that, the test focus is purely on skills.
While my test is one of several that are great for measuring skills, I’ll stick with discussing mine and hopefully provide you with a tool to measure your skills. I also want to give credit where due: one of my training partners, Brian Hill, helped when we were trying to design an appropriate test for the students we trained at the U.S. Shooting Academy. I have since modified the test substantially, but special thanks to Brian for all his help.
Key Details of the Shooting-Performance Skills Test
The test has an unlimited score.
When developing the test, I began by determining that I did not want a skills test that would allow the user to maximize it. I have shot more than a dozen different skills tests and qualifications over the years and have found that really good shooters can often maximize the test score. The problem with this is that there is no possible improvement after that point. My skills test is a par time based test that allows the shooter to fire as many shots as possible within the par time, which is basically a measurement of time that can be set on an electronic timer. For example, if I set a par time of 1.5 seconds on my electronic timer, I get a start beep and then an end beep at 1.5 seconds. My test can also be run on turning targets if the shooter has them available and has the ability to set the time in the system.
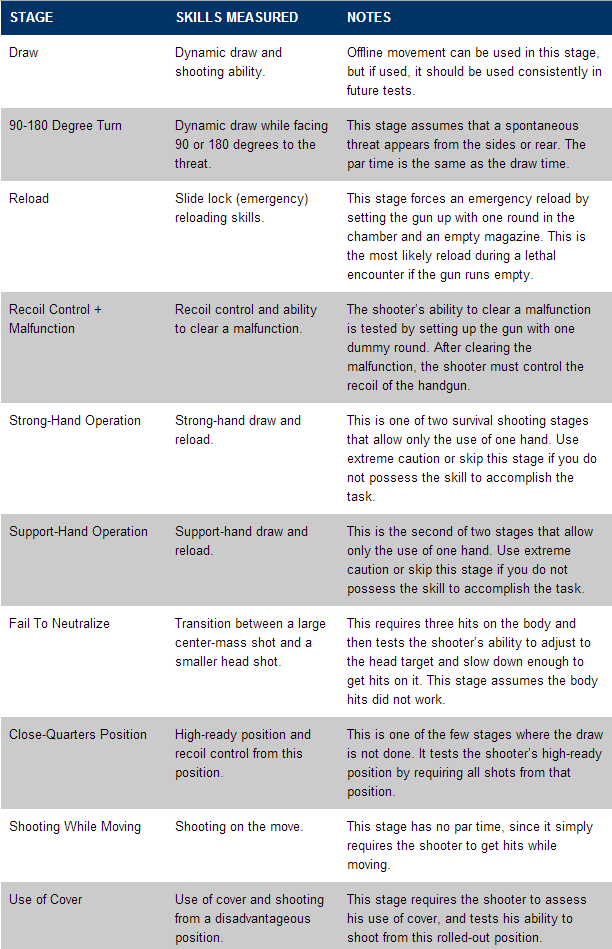
The test has a total of ten stages, each designed to measure a different area of skill.
While I feel that the test is very broad and measures most of the key areas of skill needed for a defensive handgun situation, remember that it is designed to measure marksmanship and manipulation skills. The test even includes measurement of one-handed shooting and manipulation skills. Due to this, I recommend that you have a solid base of skill and training before attempting these stages.
The test is very fast paced and has stringent par times.
When running the test for the first time, if your skill is at a slightly lower level, you might find the par times very hard to meet. For this reason, I have expert and novice par time options. The novice par time option allows the user to add .5 seconds to the par time on each stage. If you still have a hard time making the par time, you are possibly not yet at a level where you are ready to take the test. I suggest you develop a base amount of skill through practice before attempting the test.
The test is designed to allow you to track your progress.
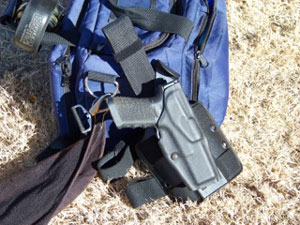
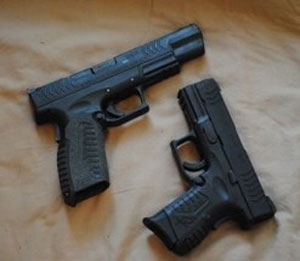
Another important point is that you will get completely different scores when you run the test with different guns and gear. This will not be an issue as long as you track what gun and gear you use on each particular day.
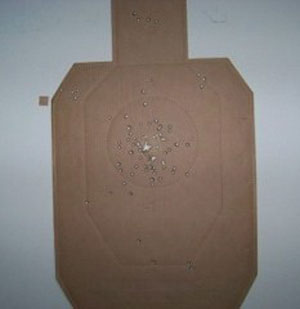
The test requires hits to a specific combat-effective area on the target, and severely penalizes for missed shots.
Test Stages, Target Set-Up and Scoring
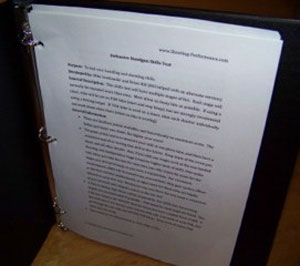
The chart below gives a quick view of the stages of the test and what they measure. The full version of the Shooting-Performance handgun skills test, which you can print and run on your own, can be found here. I suggest you design a folder like I have that you can keep in your range bag to track the scores you shoot with the gear you shoot them with.
Other Key Points
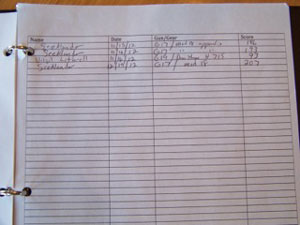
* The skills test is designed so you can measure your skill and compare it to your skill. To do this, you must keep things consistent so you can track improvements. Make sure to track your results. I keep a binder with the skills test in it and have a log sheet at the end, so I can see what I shot, with what gear and on which date.
* Hold yourself accountable if you are taking the test alone. This means that if you fail to perform a scan process after a stage string, account for it, fix it and penalize yourself if you repeat it.
* Learn from the test. Some of you who carry in a pocket or some other difficult-to-access location might find the par times extremely hard to meet. Learn from this and accept the fact that if you carry in a pocket or on an ankle, it will be much slower for you to get your handgun into play during a spontaneous attack.
In conclusion, remember that this test is simply a method of measuring your training success. If you find yourself failing on certain stages, focus more on those areas or get some training to help you with them. One of the key principles of training is that your results must be measured, and can then be improved. Take the skills test and help drive your training to the next level!
The following chart shows the breakdown of each stage on the handgun skills test.

I am the best shooter you have ever met try me
wow, tough commenter crowd, Mr. Seeklander.! I thought your article was good. You set out what you want to test. You advocated keeping a journal, to track your activity, and injected a timer to the mix to add some stress... not sure what the other comments had a beef about. Keep on making primer dimples.!! .
rejected your article at the first sentence
Don't have a website as of yet.
Some good stuff here for sure. But on one point ...I don't train with a timer. "You will do in a panic situation what you are trained to do" ....like waiting on a buzzer to tell you when to draw and shoot. Or when to stop shooting. If you are training for a competition that is timed and uses buzzers or tones then by all mean practice with a timer. Training for self defense with sound timer is suicidal. But then who am I to question the many "experts" that seem to be coming out of the woodwork everyday. No offense to the author here. I myself have only 50 years of handgun experience, an Expert medal from the Navy, three NRA expert competition ratings and a IPSC "A" class rating. Maybe I should do some videos and write a book too.
I have this video and most of youth others.
i dont have a handgun and you need a cc permit to even HAVE ONE pulled out of case in this state but i do have a 12 gauge shotgun there is in door range around here i have done some shooting there you can only use deer slugs in this range ive alway had the target out at max which is around 35 or 40 yards and i can put rounds in a man sized target and i have impressed some cops with my scores what i need is to find a way to train so i can hit a smaller target