High Compressed Ready with a Rifle
J. HawkinsWhen considering shooting positions, you may be familiar with the high compressed ready position for handguns. J. Hawkins of Reno Guns & Range discusses the high compressed ready position for rifles and carbines. Having more points of contact with the body than a handgun gives the rifle an advantage. We want to make sure to use that advantage to our benefit.
Shooting Positions
Establish your grip around the pistol grip of the rifle with the trigger finger somewhere other than the trigger. The support hand should be forward on the foregrip to allow you to support the front weight of the rifle.
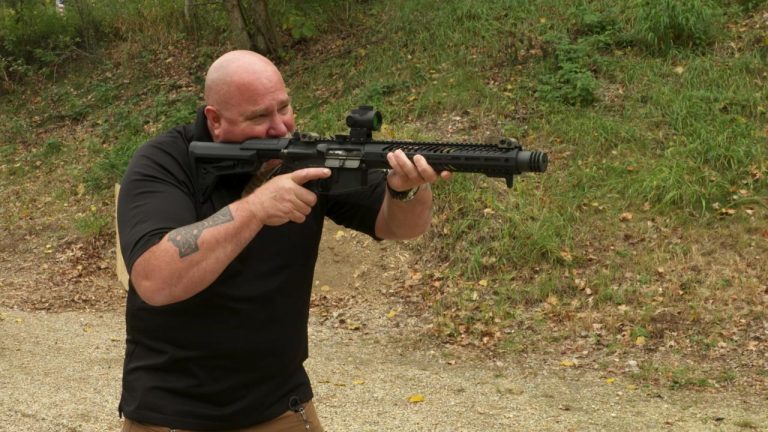
The toe, or the bottom back portion of the stock, should be in the chest, not in the shoulder, so that when facing forward on the target and in the proper stance, all you need to do is bring the rifle up, creating that kinesthetic alignment, and creating the cheek weld, which is the fourth point of contact.
Manipulating the Selector
At the same time that you’re raising the rifle to the fourth point of contact, you are also manipulating the selector from the safe position to the fire position. J. Hawkins always recommends that unless you have those four points of contact, the firearm should be on safe.
When you identify that there is a threat you need to address, bring the rifle on target, manipulate the selector from safe to fire, and address the threat appropriately. Once you’ve done that, you can return the rifle to the high compressed ready. Of all the shooting positions, it’s the one that allows you to have a greater field of view and lets you do so comfortably and for a long period of time.
You’ll find dozens of other rifle training videos here on the Personal Defense Network, to support your rifle training and practice.
Premium Membership
Unlock exclusive member content from our industry experts.
- 24/7 Access to Premium Personal Defense and Firearm Training Videos and Drills
- Step-by-Step Instructional Demos and Guides
- 50% Off Video Downloads Purchased in the Personal Defense Network Shop
- Access to Ask the Expert Program
Unlock exclusive member content from our industry experts.
- 24/7 Access to Premium Personal Defense and Firearm Training Videos and Drills
- Step-by-Step Instructional Demos and Guides
- 2 Full-Length Video Downloads to Watch Offline
- 50% Off Video Downloads Purchased in the Personal Defense Network Shop
- Access to Ask the Expert Program
Gold Membership
$340 Value
Get everything included in Premium plus exclusive Gold Membership benefits.
- 24/7 Access to Premium Personal Defense and Firearm Training Videos and Drills
- Step-by-Step Instructional Demos and Guides
- 9 Full-Length Video Downloads to Watch Offline
- 2 Full-Length Personal Defense Classes to Keep for Life
- 2 In-Depth Skill Development Presentations
- Discounts on Purchase-to-Own Content in the Personal Defense Network Shop
- Access to Ask the Expert Program
- Exclusive GOLD LIVE Streaming Events
Share tips, start a discussion or ask one of our experts or other students a question.
Already a member? Sign in
No Responses to “High Compressed Ready with a Rifle”