
Assembling the Fire Control Group
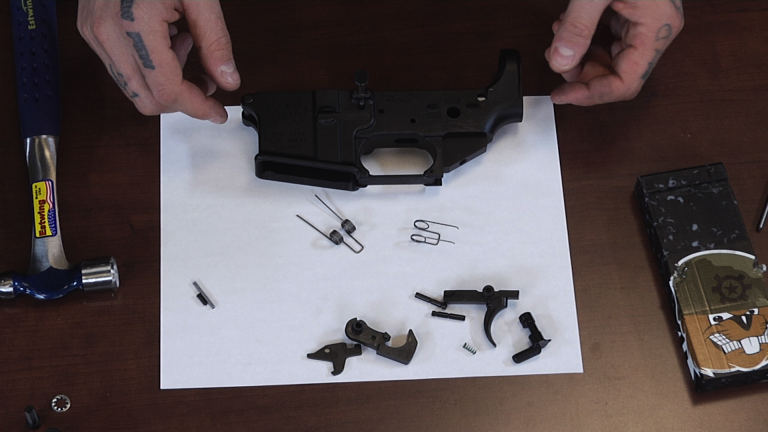
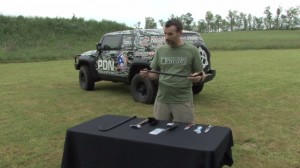
Mike CentolaIn this step-by-step video, Mike Centola from Allstar Tactical shows how to put the fire control group together. He has all the pieces laid out, so everything is visible. The pieces are: trigger, trigger spring, hammer, hammer spring, two identical pins, disconnector, small disconnector spring, safety selector, safety spring, and safety detent.
Trigger Assembly
The first step is the trigger assembly, using the trigger and trigger spring. Assemble it from the front, and check the tension. Next, take the larger end of the disconnector spring. There’s a hole cut out in the trigger for it. Push the disconnector spring down into there. Take the disconnector and lay it over the top of the spring. Make sure everything is aligned.
Take this trigger assembly and drop it into the lower receiver, making sure everything stays together. Looking through the holes in the lower receiver, you can see how it needs to be lined up. Insert the pin and, if everything is lined up, it will snap into place. Test the trigger.
Hammer Assembly
Loop the hammer spring over the ears of the hammer. Fit the two protruding pieces of the hammer spring over the ears of the trigger. Push the hammer assembly in and align it with the holes. Test the alignment with a punch, then set the pin.
Add Safety
Drop it in from the side and flip it upside down. Find the bullet detent and put the pointy end down in the hole in the bottom of the lower receiver. Put the safety spring in the hole in the top of the grip. Snug it up and test the safety.
The fire control group has been assembled. You can now do your initial testing of it.
The Personal Defense Network features videos on numerous self-defense topics, including defensive gear and trigger control.
Explore videos by Mike Centola
You may be interested in
Premium Membership
Unlock exclusive member content from our industry experts.
- 24/7 Access to Premium Personal Defense and Firearm Training Videos and Drills
- Step-by-Step Instructional Demos and Guides
- 50% Off Video Downloads Purchased in the Personal Defense Network Shop
- Access to Ask the Expert Program
Unlock exclusive member content from our industry experts.
- 24/7 Access to Premium Personal Defense and Firearm Training Videos and Drills
- Step-by-Step Instructional Demos and Guides
- 2 Full-Length Video Downloads to Watch Offline
- 50% Off Video Downloads Purchased in the Personal Defense Network Shop
- Access to Ask the Expert Program
Gold Membership
$340 Value
Get everything included in Premium plus exclusive Gold Membership benefits.
- 24/7 Access to Premium Personal Defense and Firearm Training Videos and Drills
- Step-by-Step Instructional Demos and Guides
- 9 Full-Length Video Downloads to Watch Offline
- 2 Full-Length Personal Defense Classes to Keep for Life
- 2 In-Depth Skill Development Presentations
- Discounts on Purchase-to-Own Content in the Personal Defense Network Shop
- Access to Ask the Expert Program
- Exclusive GOLD LIVE Streaming Events