
Self Defense Medicine Session 8: Pressure Dressings
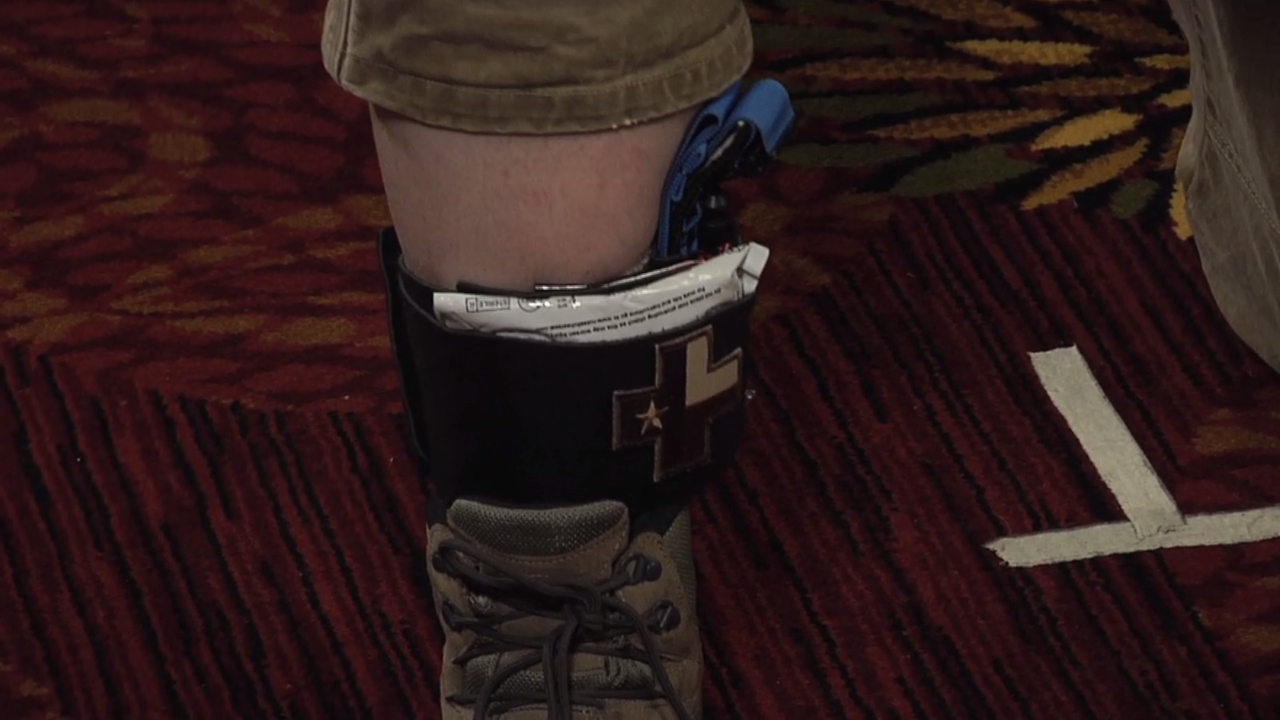
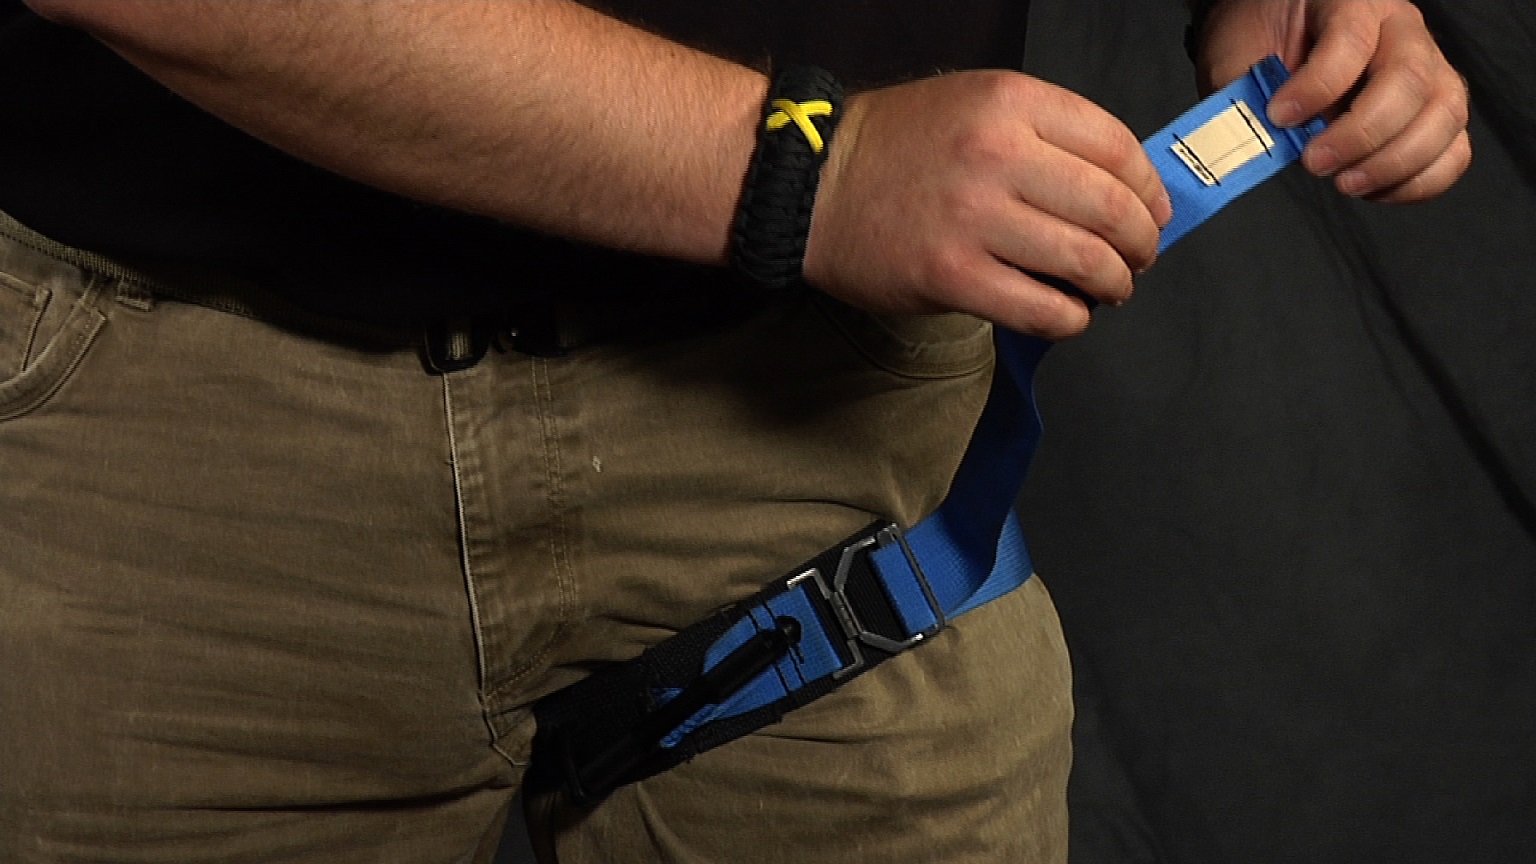
Caleb CauseyThis session provides you a detailed explanation of two common Pressure Dressing products, the Israeli Dressing and the Olaes® Modular Bandage. Each allows you to maintain targeted pressure to a wound. You will see how to properly open, deploy, and self-apply these pressure dressings in order to stop severe bleeding from a puncture wound or laceration.
Explore videos by Caleb Causey
You may be interested in
Premium Membership
Unlock exclusive member content from our industry experts.
- 24/7 Access to Premium Personal Defense and Firearm Training Videos and Drills
- Step-by-Step Instructional Demos and Guides
- 50% Off Video Downloads Purchased in the Personal Defense Network Shop
- Access to Ask the Expert Program
Unlock exclusive member content from our industry experts.
- 24/7 Access to Premium Personal Defense and Firearm Training Videos and Drills
- Step-by-Step Instructional Demos and Guides
- 2 Full-Length Video Downloads to Watch Offline
- 50% Off Video Downloads Purchased in the Personal Defense Network Shop
- Access to Ask the Expert Program
Gold Membership
$340 Value
Get everything included in Premium plus exclusive Gold Membership benefits.
- 24/7 Access to Premium Personal Defense and Firearm Training Videos and Drills
- Step-by-Step Instructional Demos and Guides
- 9 Full-Length Video Downloads to Watch Offline
- 2 Full-Length Personal Defense Classes to Keep for Life
- 2 In-Depth Skill Development Presentations
- Discounts on Purchase-to-Own Content in the Personal Defense Network Shop
- Access to Ask the Expert Program
- Exclusive GOLD LIVE Streaming Events
Share tips, start a discussion or ask one of our experts or other students a question.
Already a member? Sign in
No Responses to “Self Defense Medicine Session 8: Pressure Dressings”