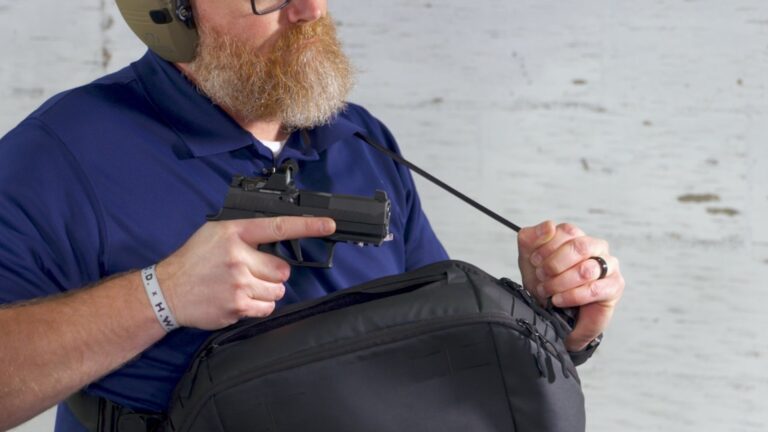
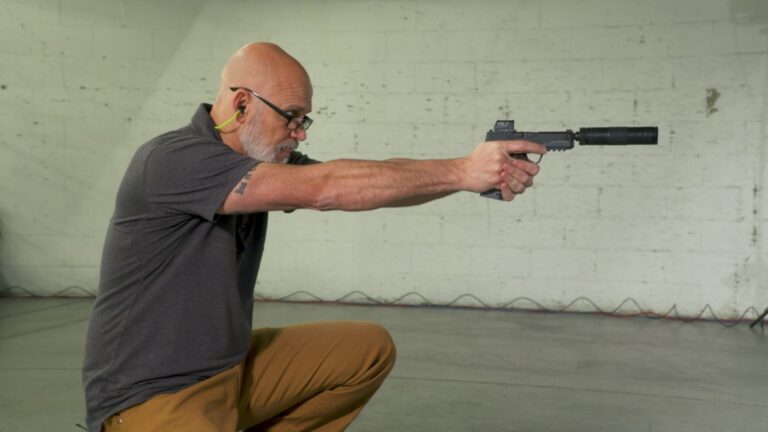
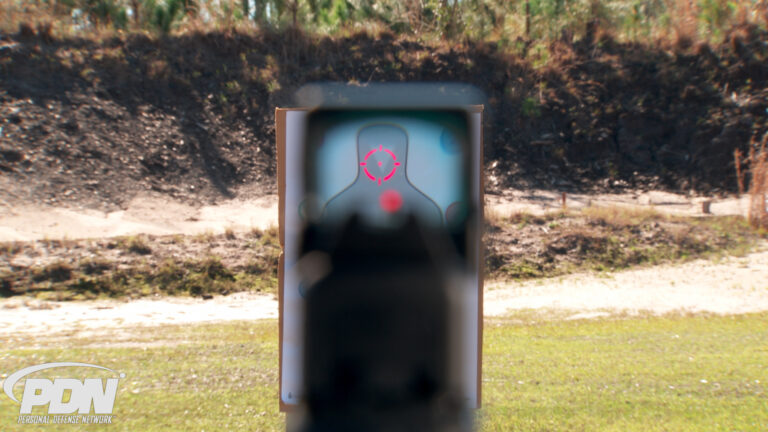
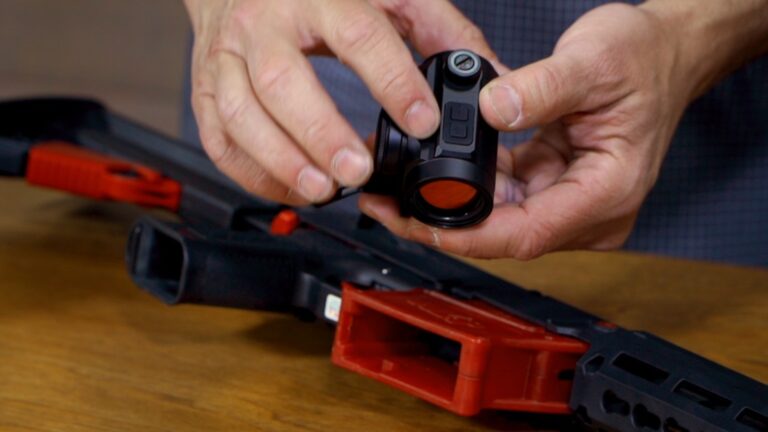
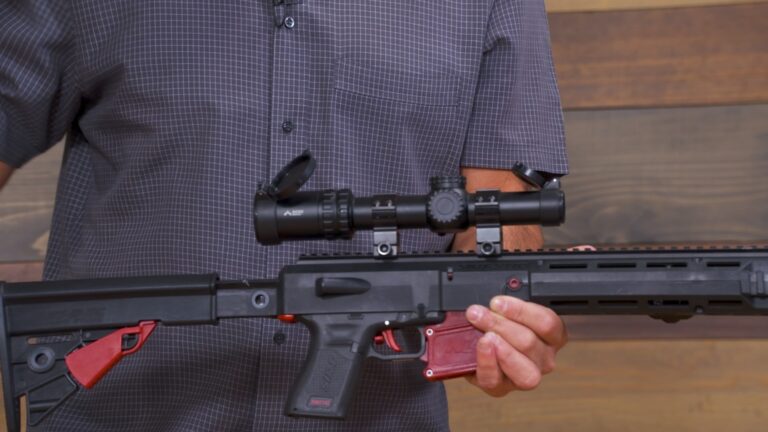
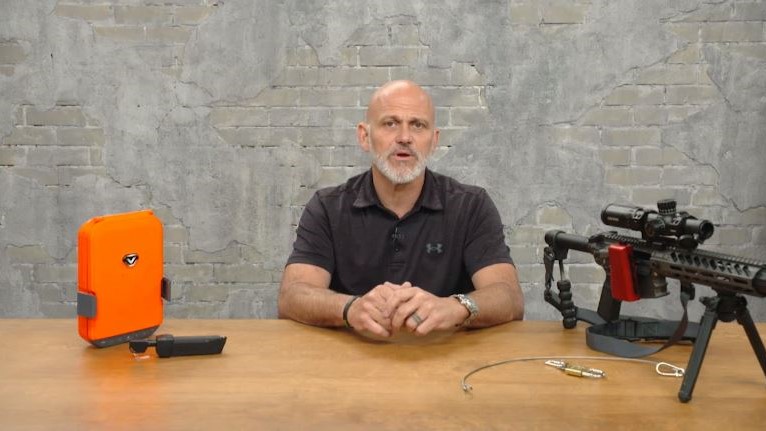
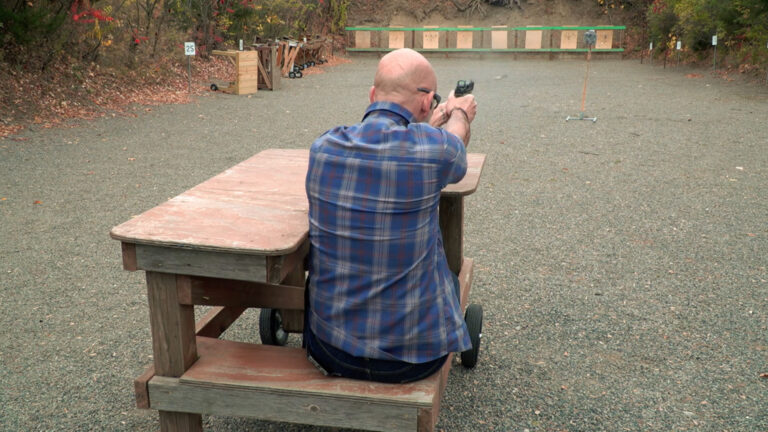
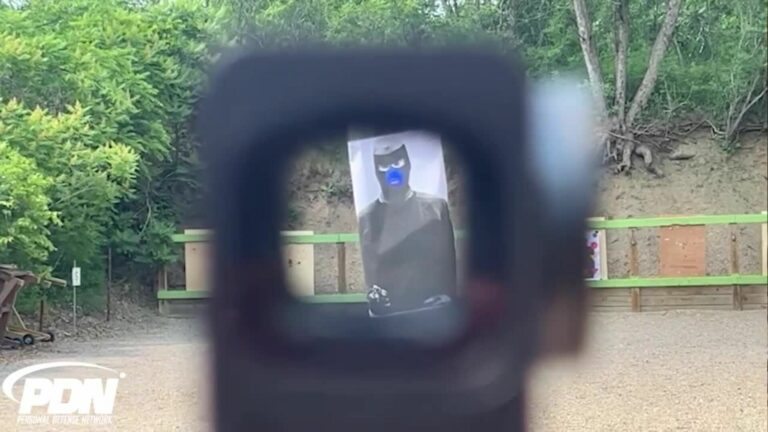
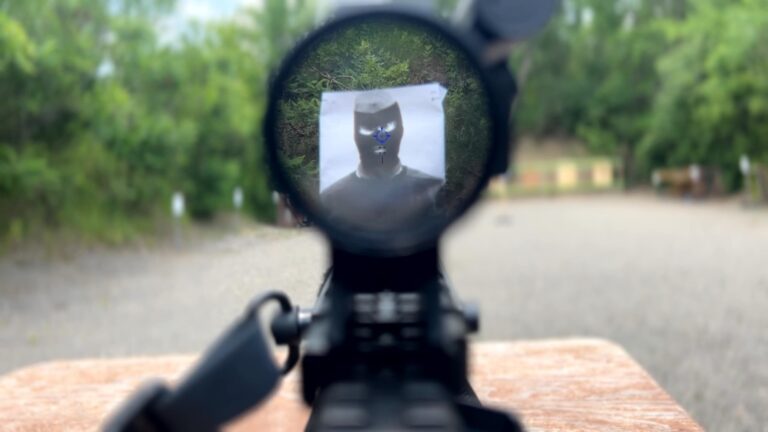
Home Defense Zero
Rob PincusDescription
If you have a rifle set up and intended for home defense, how should you zero the red dot sight for home-defense distances? Rob Pincus has an Aimpoint Comp ML3 mounted on his rifle. It has a 2 MOA (minute of angle) red dot, meaning it’s a fairly small dot. It will be capable of a significant amount of precision.
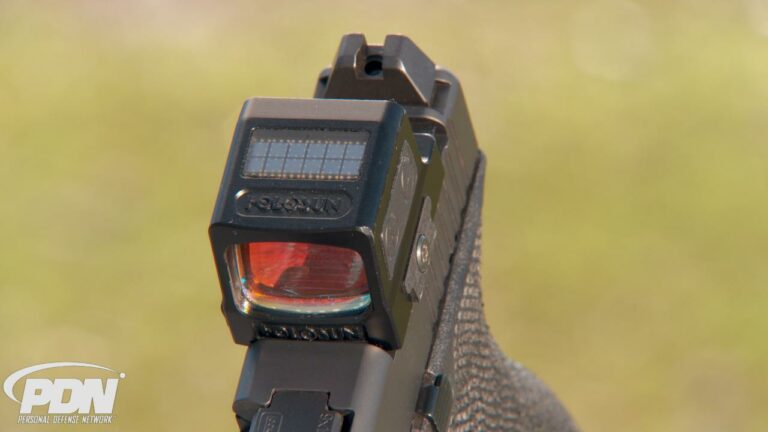
Zeroing the Red Dot
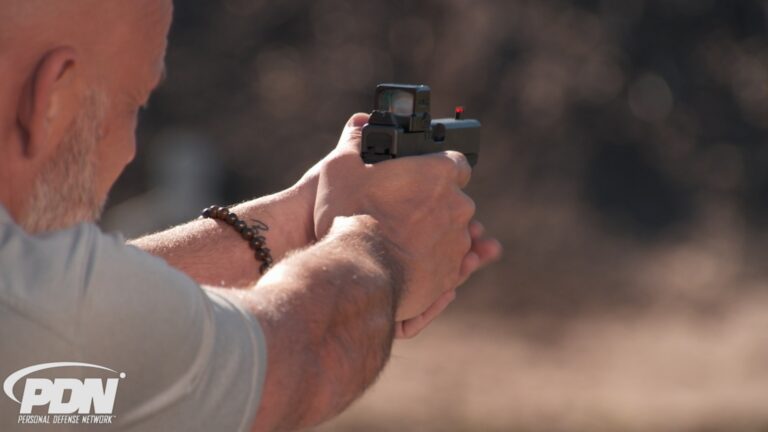
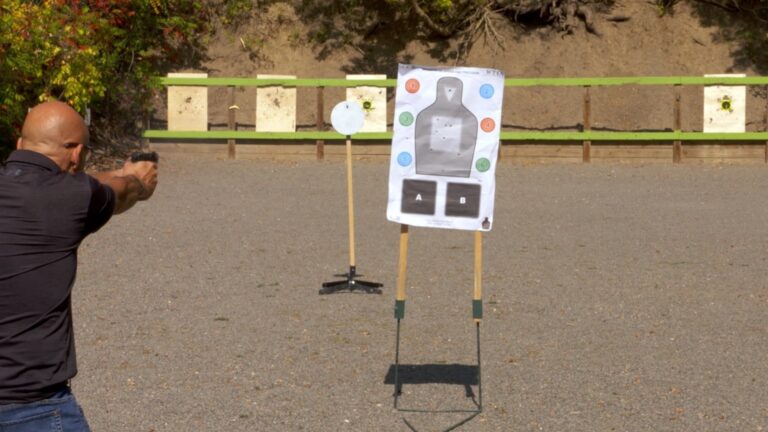
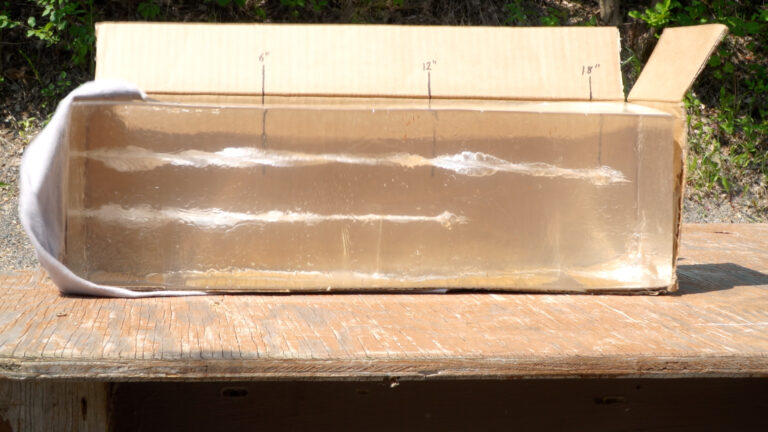
Where are you going to zero the red dot? The red dot, the line of that optical line, is only going to cross the line of the bore once, for practical purposes. For a defensive rifle, we’re not worried about the arc of the bullet and the fact that the path is going to be crossed twice in space. We’re concerned with what’s going to happen close in. Think about the distances you’re likely to use this rifle at: probably inside-the-home distances as this is one of your home defense weapons.
Plausible Scenarios
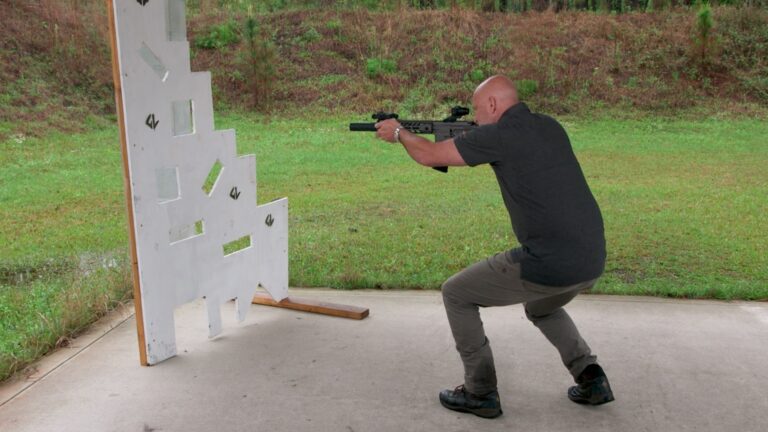
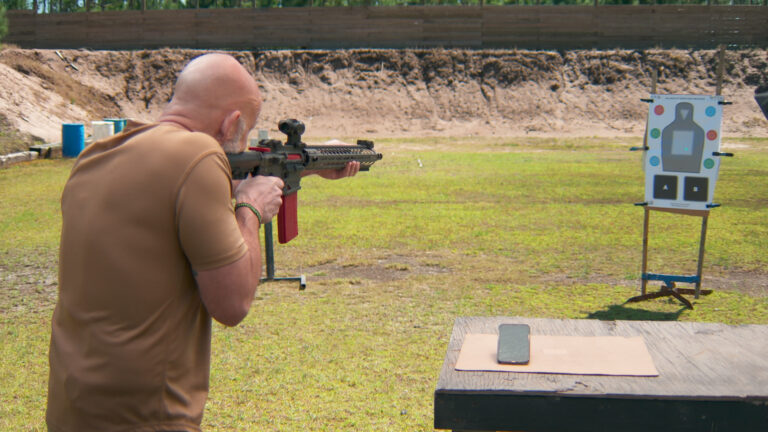
As with all rifle training, we prepare not only for the most likely scenario, but also for other plausible scenarios. You may use the rifle around a vehicle or defend a family member outside your house, and you’ll extend the distance out to 20 or even 50 yards.
For that reason, we don’t want to crank the optical line so tightly to the bore that we zero the red dot at that very close distance. We want to make sure we’re a little bit offset. The way to get a proper offset for a home-defense rifle is set it for a distance at 50, 75 or 100 yards as your practical zero. This will give you that offset inside your home.
Adjusting the Red Dot
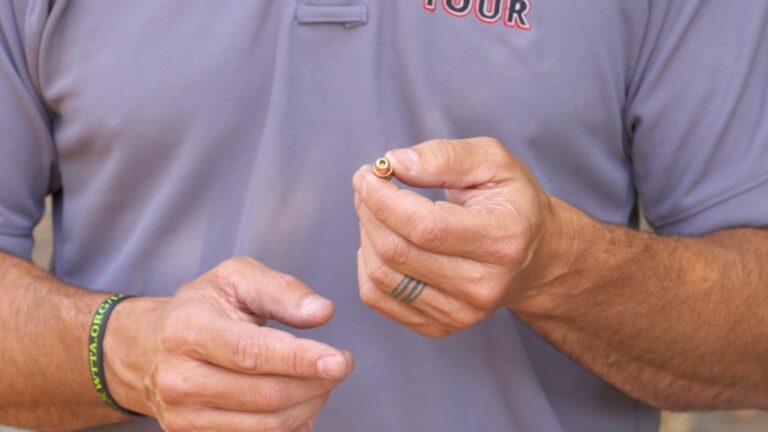
Fire a couple rounds to see where they impact and how much the red dot needs to be adjusted. After taking the caps off, adjust the red dot by using an empty piece of brass. Fire another round to see if you have adjusted the red dot enough.
All right, this is an Aimpoint CompML3 and this has a two minute of angle red dot. What that means is it's a pretty small red dot. This is gonna be capable of a significant amount of precision. And the main thing we have to worry about in terms of adjusting a red dot to your rifle are twofold. One, you want to think about where you're going to zero the red dot.
Now, as I mentioned, the idea is that the red dot, the line of that optical line is only gonna cross the line of the bore once. for practical purposes, for a defensive rifle. We're not worried about the arc of the bullet and the fact that the path is gonna be crossed twice in space, we're really worried about what's gonna happen close in. If you think about the distances that you're likely to be using this defensive carbine at, your reality is it's probably not gonna be further than the distance from one end of a hallway to the other end of the hallway in your house. But if you do find yourself around your vehicle or you do find yourself defending a family member perhaps out in front of your house, something like that, now you could be extending the distance out to maybe 20, maybe 30, maybe 40, maybe 50 yards, maybe even further, depending on what type of property you live in, or that situation, the extreme situation that you got into out in a public space while the rifle was inside of your car.
For that reason, we don't want to crank the optical line so tightly to the bore that we're zeroed at that very close across the bedroom distance. What we actually want to do is make sure that we're a little bit offset. When we talk about offset, we're gonna go ahead and take a look at this target. And we're gonna see exactly what we mean by placing the red dot very specifically at one place on the target and seeing exactly where the bullet ends up. Now, the way that you get a proper offset for a home defense rifle is that you set it for a distance out at 50, 75 or 100 yards as your practical zero.
And what this is going to do is give you that offset inside of your home. So let's take a look at this. Okay, what I'm gonna do is I'm gonna go ahead and just kind of see where we are. I'm gonna go ahead and drive up. Now this, this rifle has been set up fundamentally.
I'm gonna go ahead and put my dot right on the four. And we can see that I am low left. Well, I'm low left on the target. What I'm gonna do very simply is take a second shot to confirm that because we don't, you know, that could have been a fluke. That could have been me.
And now we see again, low left. So now I'm gonna go ahead and take these caps off and very simply and very efficiently what I'm gonna do to make my adjustment is I'm gonna reach down and pick up an empty piece of brass. Empty piece of brass will help you make your adjustment very specifically. So we're gonna make our adjustment, again just using the back of an empty piece of brass. I'm gonna keep that near my pocket.
Remember you're close in here. You're very much closer than we normally would think about zeroing. So this is just a great way to get on paper quickly. If you have 10 rounds and an empty piece of brass and your red dot, you should be able to get very easily where you want to be on your target. So again, I'm gonna come back up on the four, Fire, the shot and you can see I brought it a lot of the way over.
So I'm gonna come in and keep adjusting, grab another handful here. Whenever you're adjusting your red dot, you want to make sure that you are on for windage left and right. That's really the key. And I probably just came a little bit too far there so I'm just gonna come back. It's important when you're, when you're, when I say grabbing handfuls, if you're, if you're running at five, eight, 10 clicks, it's important to remember how many adjustments you made.
So if you have to come halfway back, you can quickly make that adjustment and get back in. And obviously I'm gonna change mags here and take another shot. And we're just about where I want to be. I'm gonna push it back just a little bit. And now I'm actually gonna go ahead and change target areas.
So I'm gonna switch over to the three, just 'cause it's getting a little crowded over at the four. I want to make sure we're making finer adjustments. I want to make sure that I know exactly where we're ending up. I'm gonna come in here. And just a tiny bit more and I'm exactly where I want to be.
So now I'm good left and right. The thing that I'm noticing though, is that I'm very, very close and just having had experience with red dots at about this height over this length of a carbine barrel, what I want to do is I actually want to be a lot lower. I want to make sure that I am lower than that on the target relative to the point of aim and point of impact. The reason I want to do that is I want to make sure that I'm not too offset here in terms of the sharpness of the angle from the optical line to the bore line. Now, when we have students come through our classes, a lot of them already think they're zeroed at a certain place.
They may be zero, they may not be, and we get them on a line and we run through this exact same exercise. And again, 99% of the time within 10 shots, we're gonna get them exactly where they want to be. So all I want to do is take that dot and move it so that my shot actually goes a little bit lower. So again, I'm taking a handful here and I'm gonna come back up on the three and you can see now I'm about two to three inches underneath the three. I'm probably just gonna come up just a little bit.
And we've got one, two, three, four, five, six, seven. This will be my eighth shot coming up to the three. And not quite up as much as I wanted, ninth shot. And that's about where I want to be. Now with the 10th shot, I'm gonna confirm.
Now let's take a really close look at the target and let's go ahead and look at that triangle in the head. That's what I want you to think of. So looking closely at the triangle in the head, think about the top of that triangle as being the eyebrow line. If you take your dot, if you're set up for a home defense carbine shooting situation, obviously most of the time we're gonna be going after the chest. The difference between two and three inches vertically here in the chest, isn't that big a deal, especially at 12 to 15 feet firing multiple rounds.
But when we think about needing to stop someone right away and shoot into the head, if someone's aggressing us, we want to be putting that bullet right between their eyebrows and the opening of the center of their mouth. And that's really the bottom point of the triangle. So somewhere between here and there, well with the rifle set up the way I've got it set up right now, I should be able to take that dot and place it right in between the eyebrows and know that that bullet is gonna fall somewhere into this area. So somewhere between the open mouth and the bottom of maybe the top of the teeth, the opening, the bottom of the opening of an open mouth if someone's breathing all the way up to the top of the eyebrow, the top of the nose, right in this center spot. So that's where I'm gonna put the dot.
So when I'm training on a triangle target like this, I'm gonna put the dot right at the top of that triangle and drop that shot right in down by the base. Now I can probably fine tune this a little bit. You can see that I'm off a little bit on my last shot in the three, and I'm off a little bit to the left, but that's how you can take with 10 shots and an empty piece of brass adjusting your red dot standing out here on the range. Now you can get sandbags, you can shoot it 100 yards. You can be perfectly on out there shooting, you know, into a one inch circle at 100 yards with most of these rifles and most of these modern high quality optic, but it's really not necessary when you're setting up your home defense rifle.
If you're doing fast, close in multiple round training, this is the proper way to get that first zero on your red dot. Now, the next thing we're gonna talk about in terms of adjustment is brightness. Now out here on a very bright, very sunny day. This is where we're gonna have to have this red dot probably cranked all the way up. And I was one dot before, one notch before on the brightness of this red not, red dot.
When I come up right now, I can see that dot very clearly against that light gray center chest area. But if it were darker out here today what I might have is some blooming. And in fact, if there were just some cloud cover, I'd probably want to go down a couple of notches. If I'm inside my home at night I probably want to go down three or four or five notches. If I'm in a very, very dark space, maybe there's no lights on in my house.
When I have this in the ready position, my family behind me barricaded, somebody's on the phone with the police, if there's no lights on in that room, I might want to go down to where I only have this red dot turned up one or two dots because right now I can't see anything on two notches. But if I come up to the third, fourth, fifth, sixth, seventh, there it is eight, nine, 10, now I can see really, really clearly. And there's a little bit of bloom here today, but not much. If I were in the dark right now, this entire field of view may be bloomed out by the red because it's so bright. So properly adjusting for brightness is important too.
Now, obviously when a threat comes into your room, you're not gonna throw your rifle up and reach up here to make an adjustment with the strong or the weak hand. So what you really want to do is have your rifle staged appropriately. A couple of things. One, you can take a paint mark line and just mark exactly where you want it to be very brightly, very boldly. You might even use luminescent paint so that in your home, if you leave this in the off position, you can very quickly turn it, know that you're in the right spot for a dark house or a normally lit house in the middle of the night, you'll be in exactly the right position.
The other thing you can do, if you have one of the situations where you have a very long battery life, where your battery can be left in the on position for a year or even more with some of the modern red dot high quality optics, great, just leave it locked down. Maybe even put a little piece of tape over it to lock it down. You could still move it if you needed to, but it's in the right position. And you know it's gonna be in the right position so that you have enough brightness and power that you can see the dot but you don't have so much that it's blooming. And remember, if you need to take that very precise shot into the head across your bedroom, you don't want your red dot covering up the entire head of your threat in a dark situation.
You want to make sure that you can bring the gun up, see the dot, see exactly what you need to see to take that shot. And that's really what we're gonna do right now. I'm gonna set my adjustment, so I'm a one down from maximum because on a day like today, against a light colored target, that's probably pretty good. I'm gonna make my adjustment based on what I know. I'm gonna hold just a little bit higher than normal and put that shot right into the base of the triangle.
That's what you're trying to be able to do with a red dot optic on a defensive carbine, and with 10 shots, we got it set up and the 11th one went exactly where we wanted it. If you follow these procedures, you'll be able to do the same thing very quickly and efficiently on any range where you can practice at close quarters with an AR type rifle and a quality red dot.
Share tips, start a discussion or ask other students a question. If you have a question for the instructor, please click here.
Already a member? Sign in
No Responses to “Home Defense Zero”