Active Shooter Response Session 6: Emergency Medicine
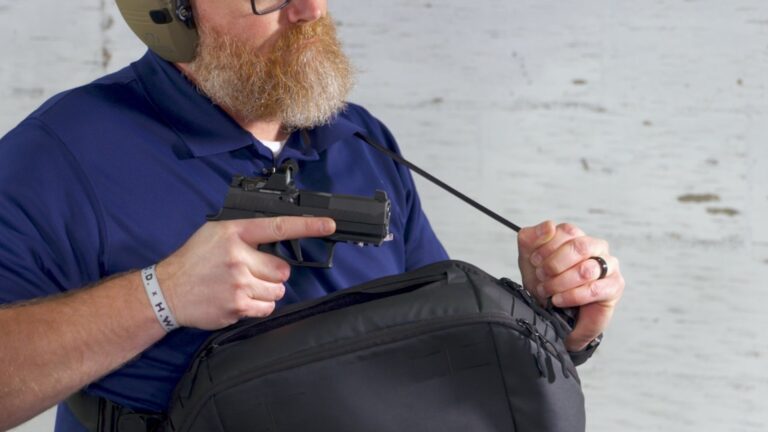
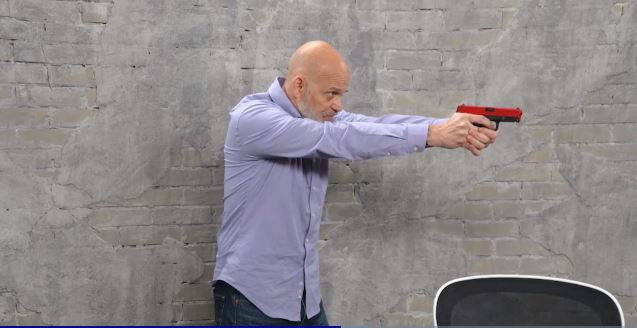
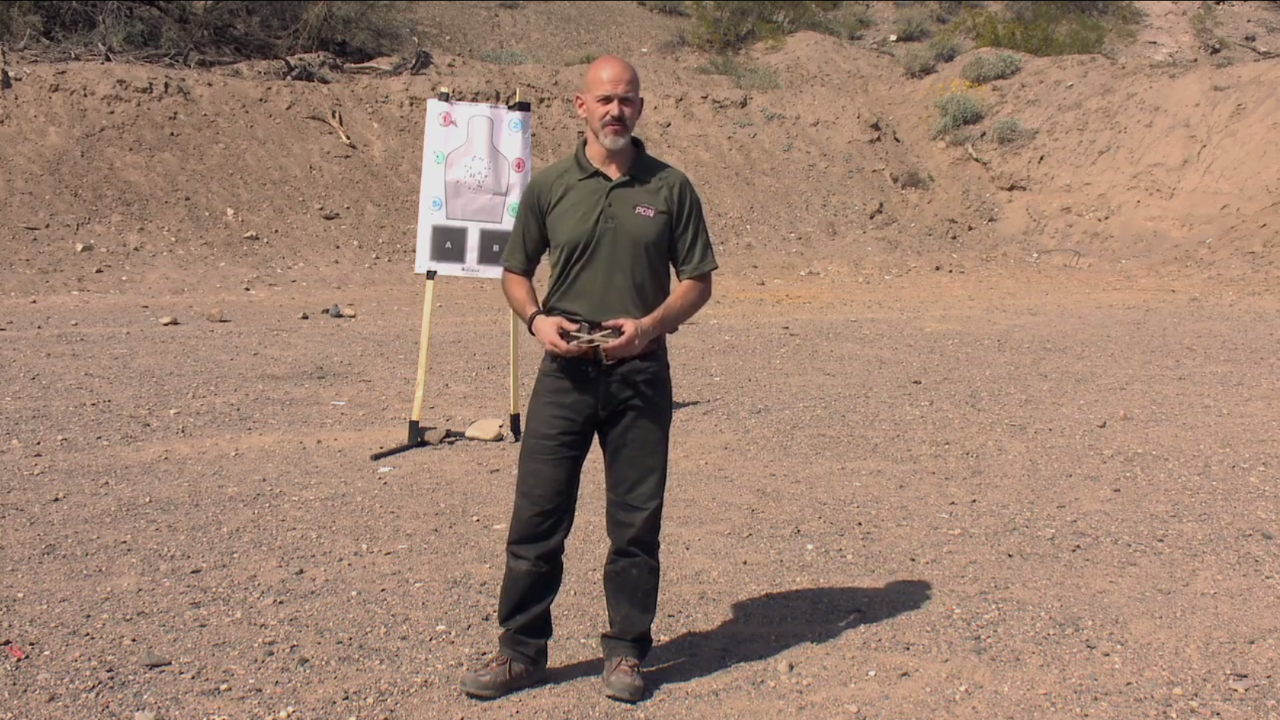
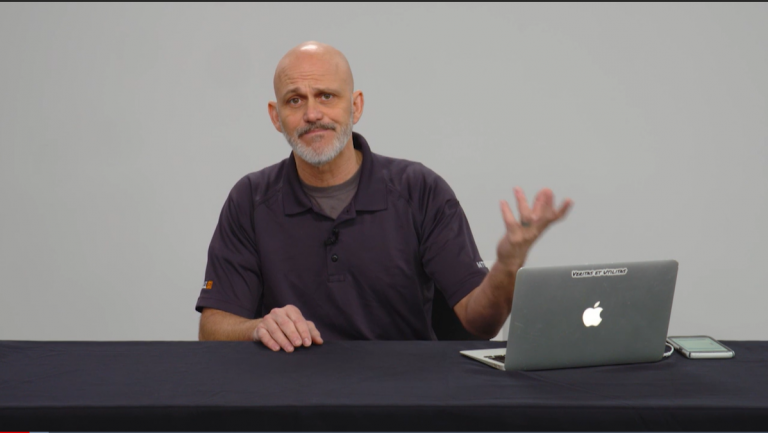
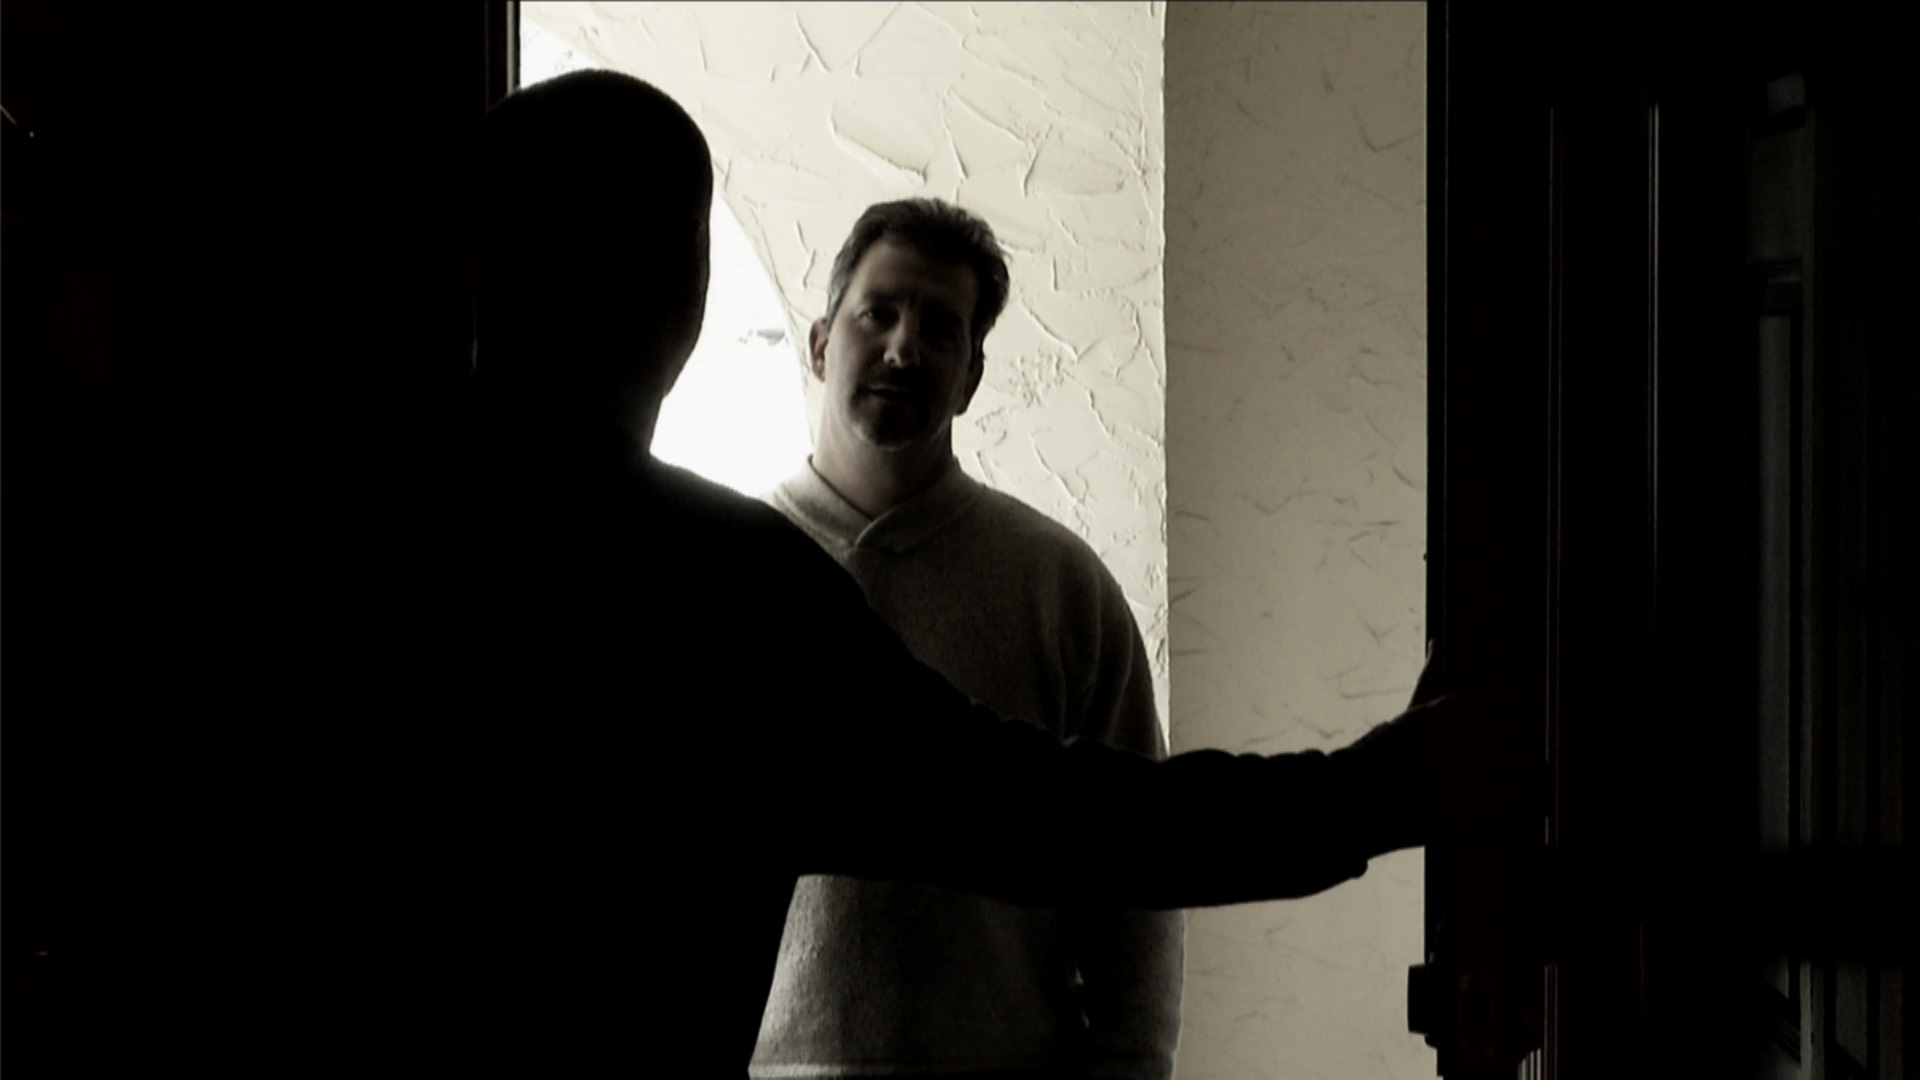
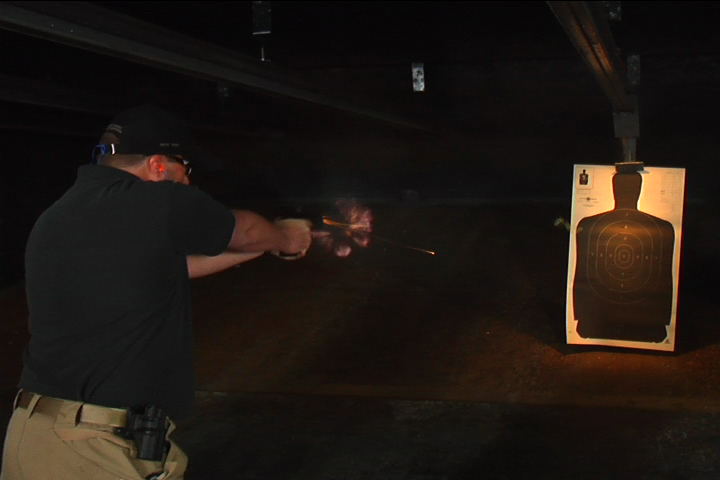
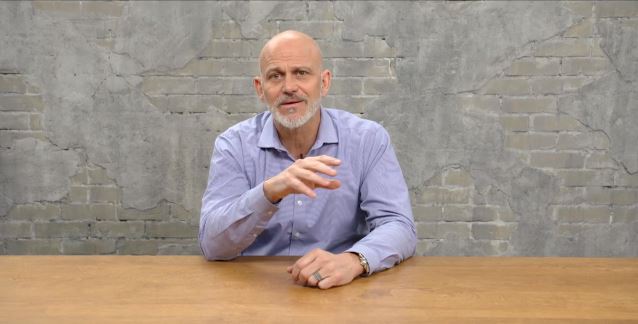
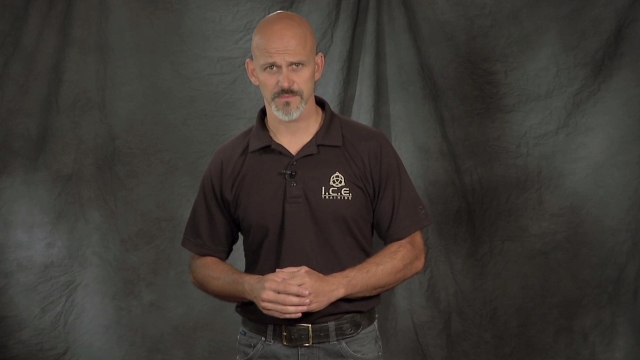
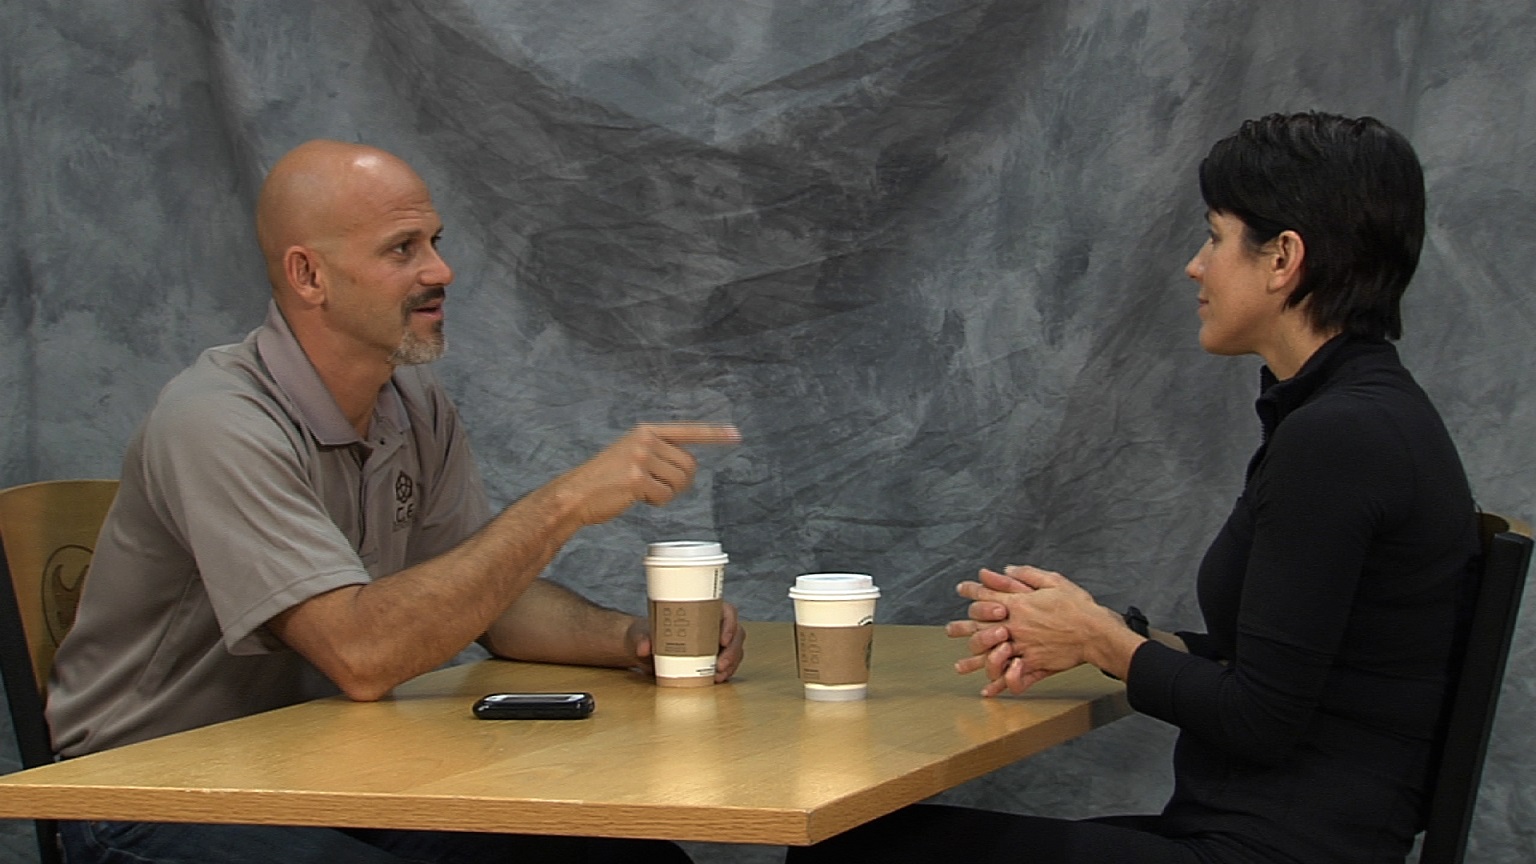
Rob PincusNo active shooter response class would be complete without providing an understanding of how to deal with the physical aftermath of such a traumatic event. Rob Pincus introduces the concept of Emergency Medicine in the context of a spree killing, including the life-saving resources available. Demonstrations by Caleb Causey of Lone Star Medics and others, show the techniques and tools that are often employed to help save the lives of shooting victims, including how to perform a blood claw, use a pressure dressing, apply a tourniquet, pack a wound, and more.
Explore videos by Rob Pincus


You may be interested in


Premium Membership
Unlock exclusive member content from our industry experts.
- 24/7 Access to Premium Personal Defense and Firearm Training Videos and Drills
- Step-by-Step Instructional Demos and Guides
- 50% Off Video Downloads Purchased in the Personal Defense Network Shop
- Access to Ask the Expert Program
Unlock exclusive member content from our industry experts.
- 24/7 Access to Premium Personal Defense and Firearm Training Videos and Drills
- Step-by-Step Instructional Demos and Guides
- 2 Full-Length Video Downloads to Watch Offline
- 50% Off Video Downloads Purchased in the Personal Defense Network Shop
- Access to Ask the Expert Program
Gold Membership
$340 Value
Get everything included in Premium plus exclusive Gold Membership benefits.
- 24/7 Access to Premium Personal Defense and Firearm Training Videos and Drills
- Step-by-Step Instructional Demos and Guides
- 9 Full-Length Video Downloads to Watch Offline
- 2 Full-Length Personal Defense Classes to Keep for Life
- 2 In-Depth Skill Development Presentations
- Discounts on Purchase-to-Own Content in the Personal Defense Network Shop
- Access to Ask the Expert Program
- Exclusive GOLD LIVE Streaming Events
Share tips, start a discussion or ask one of our experts or other students a question.
Already a member? Sign in
No Responses to “Active Shooter Response Session 6: Emergency Medicine”