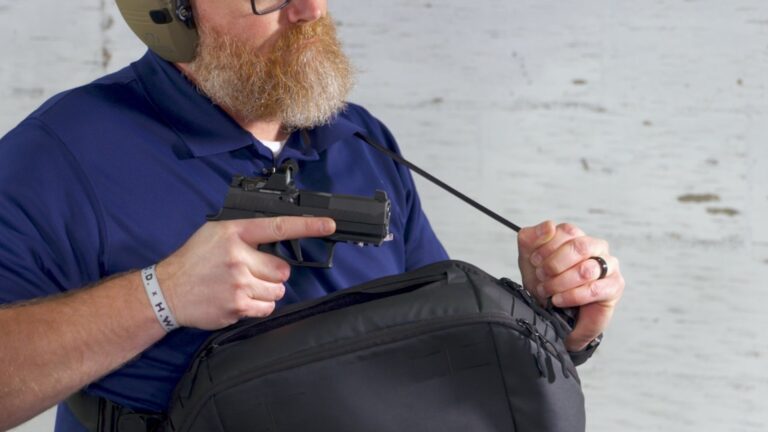
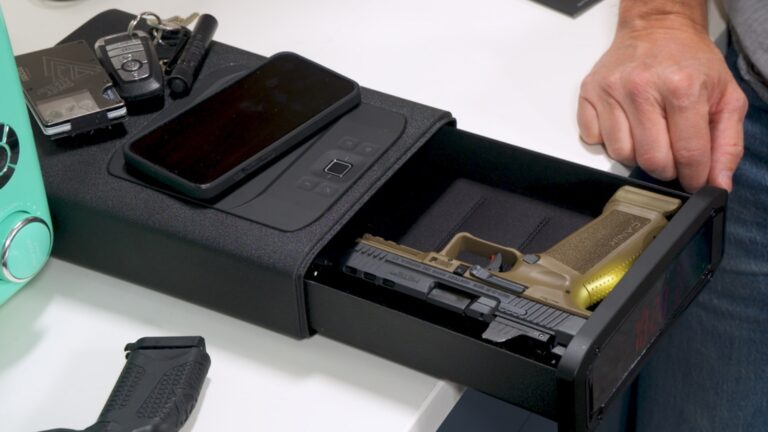
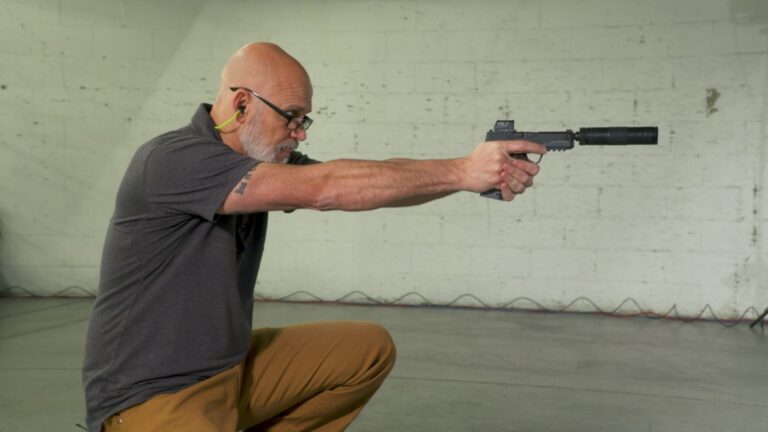
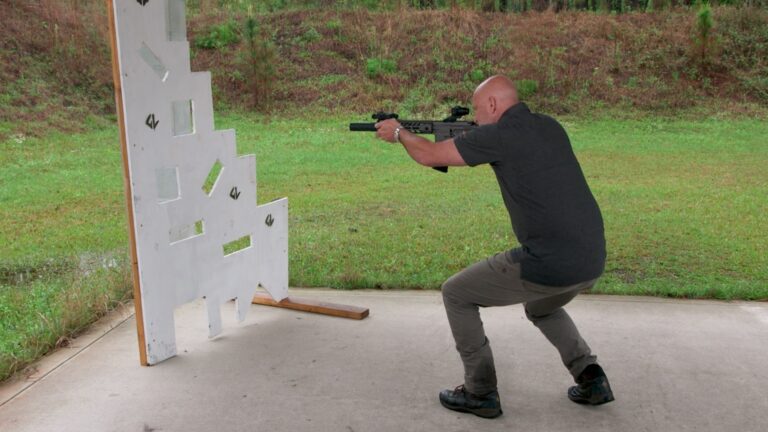
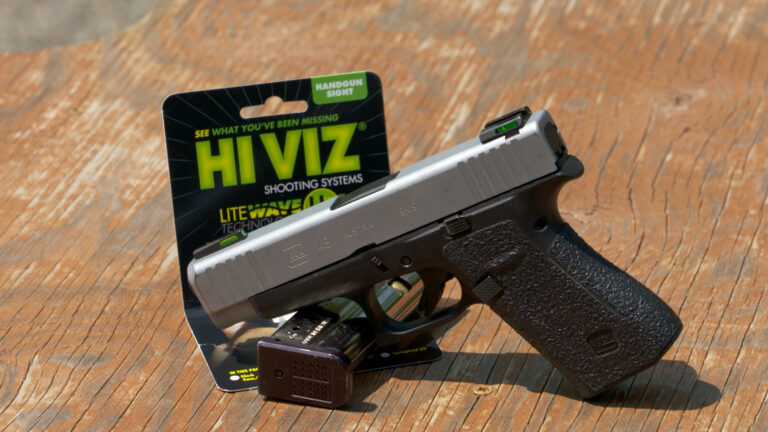
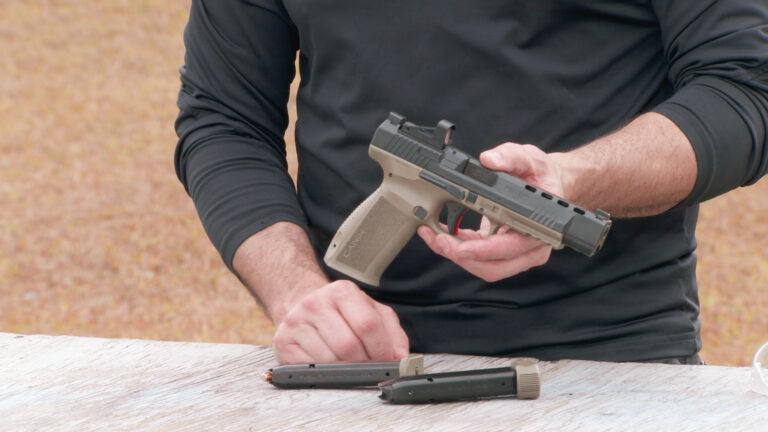
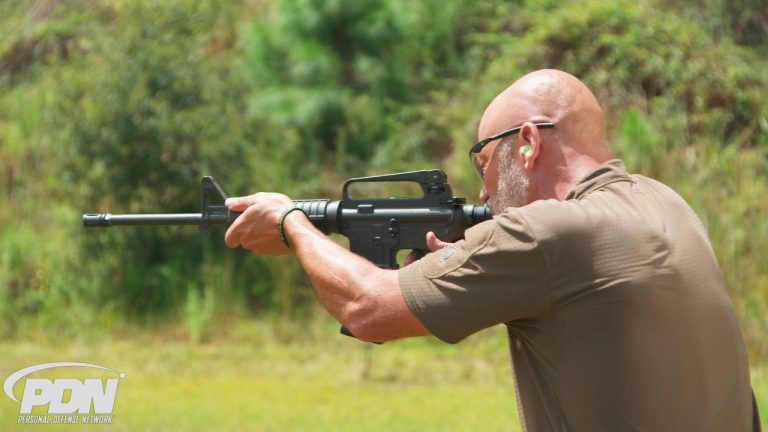
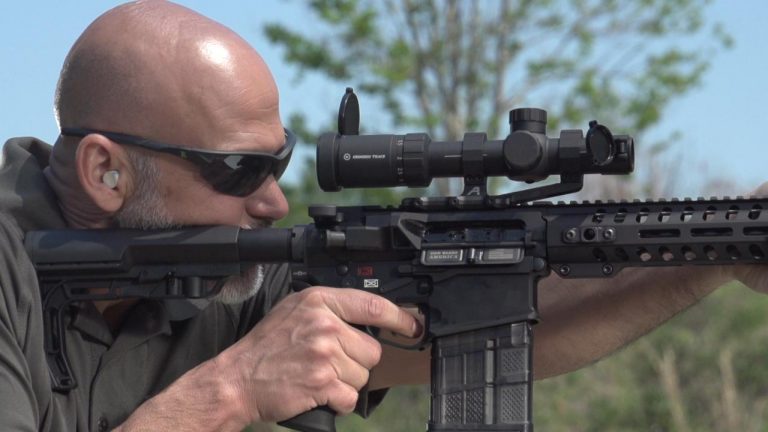
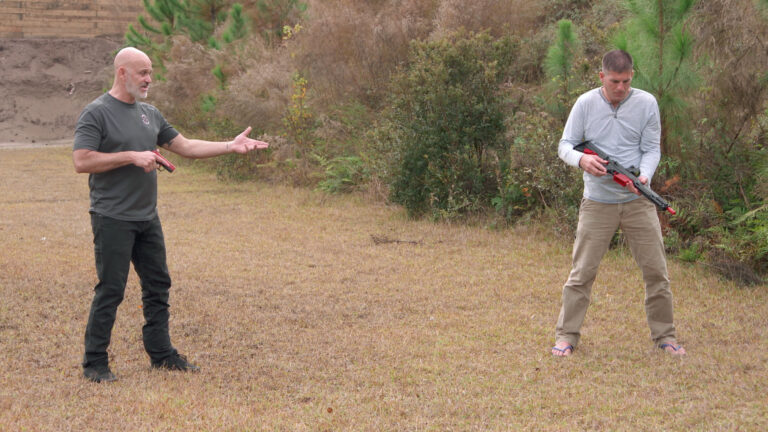
Dryfire Practice With A Training Partner
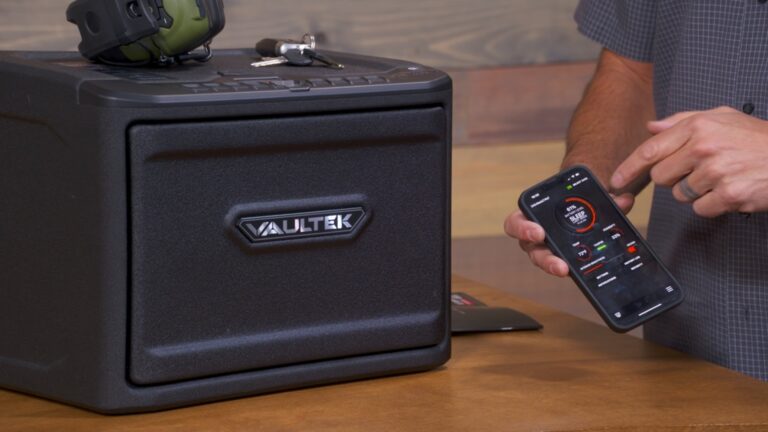
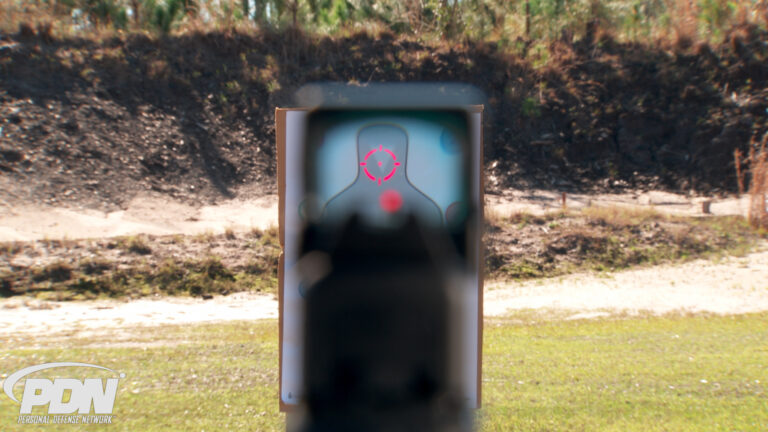
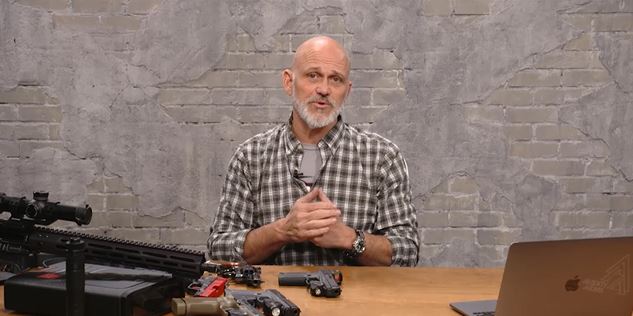
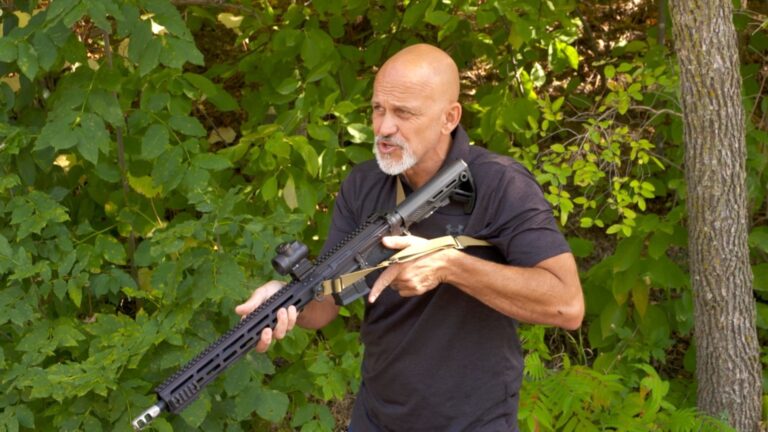
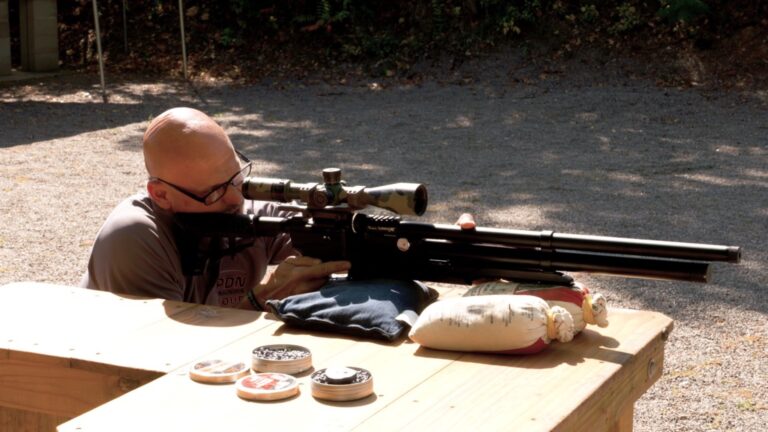
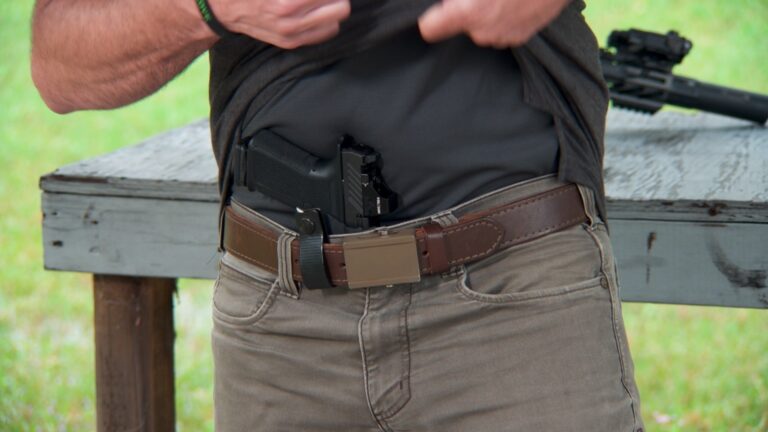
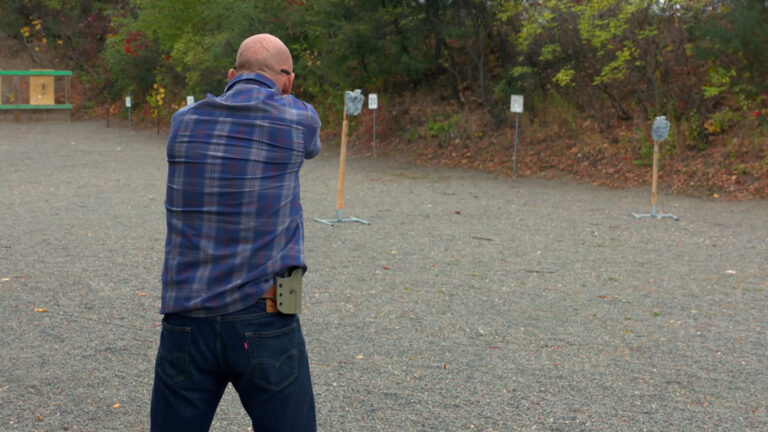
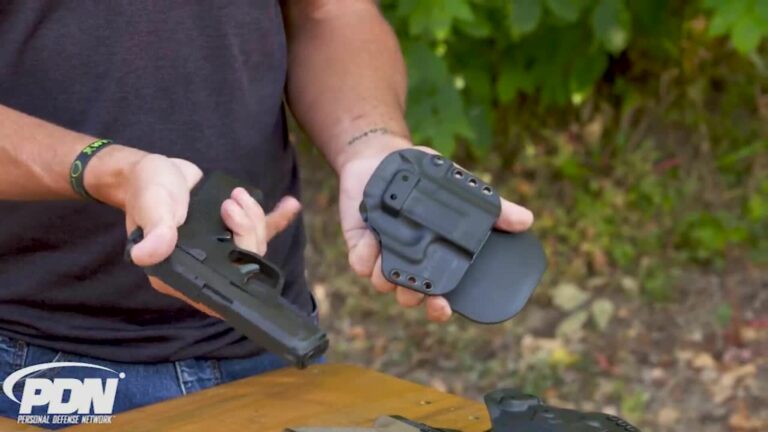
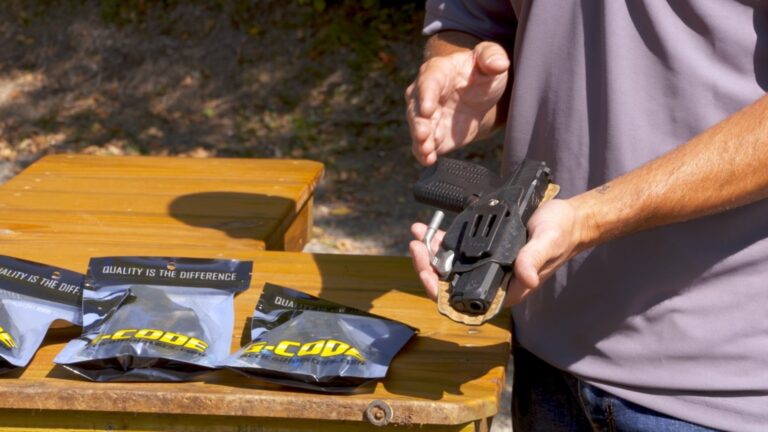
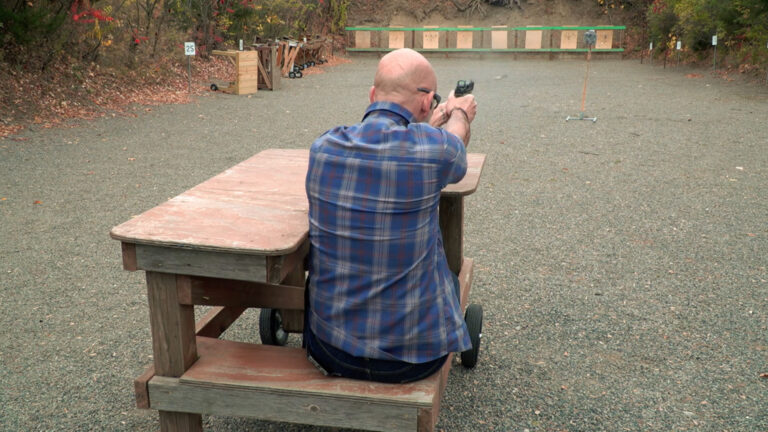
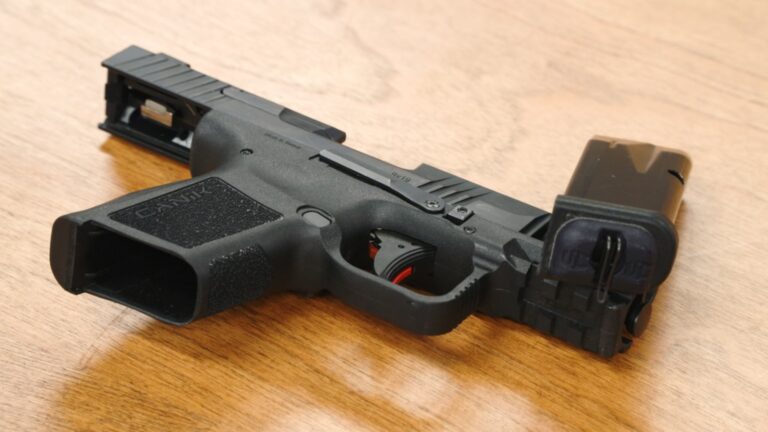
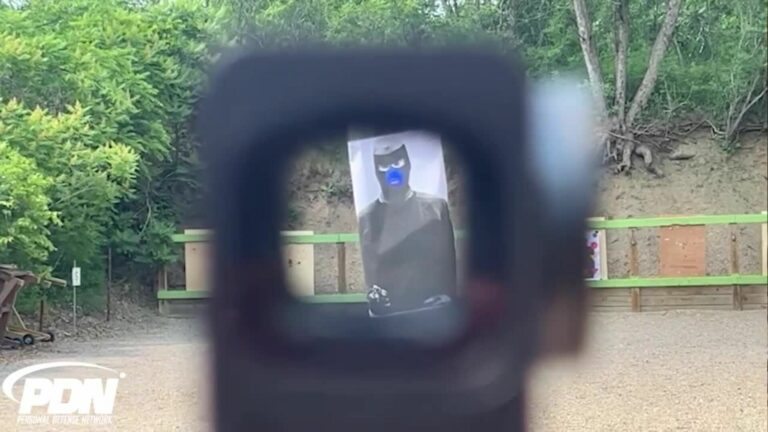
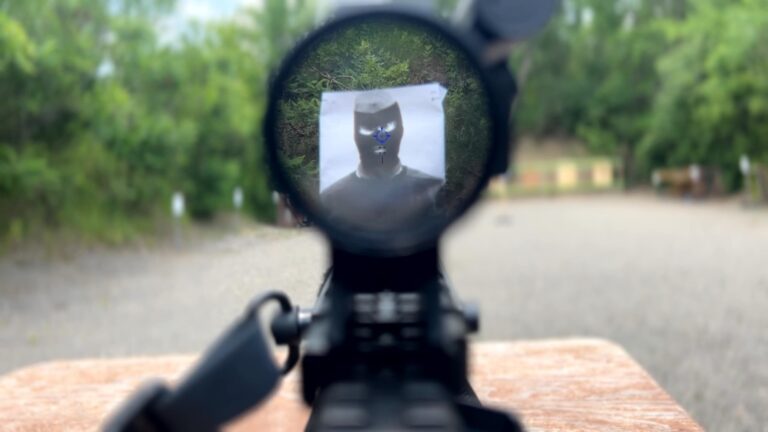
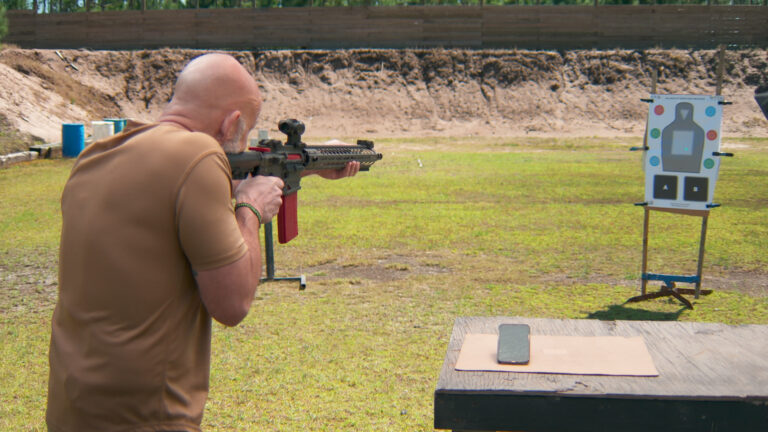
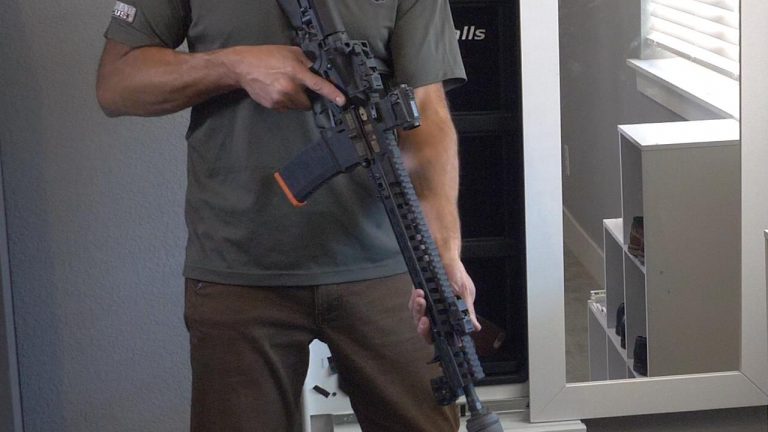
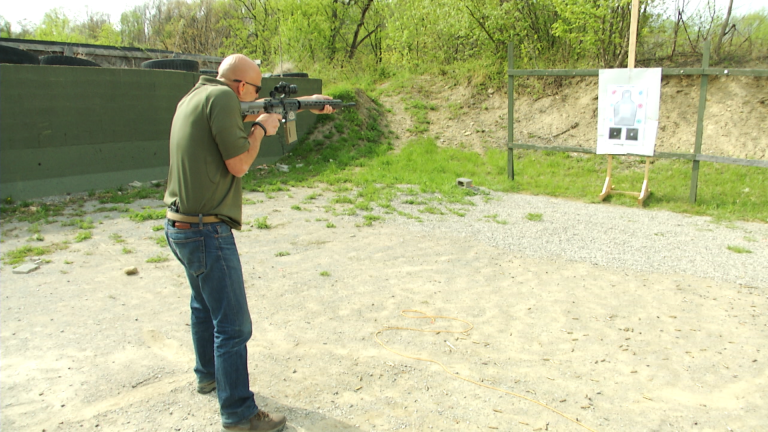
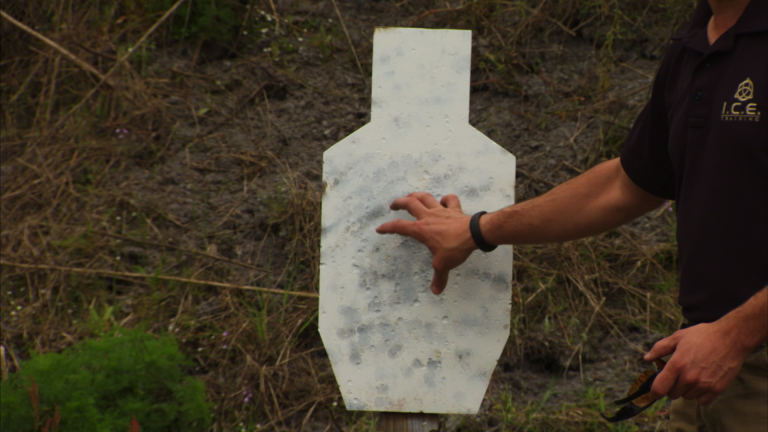
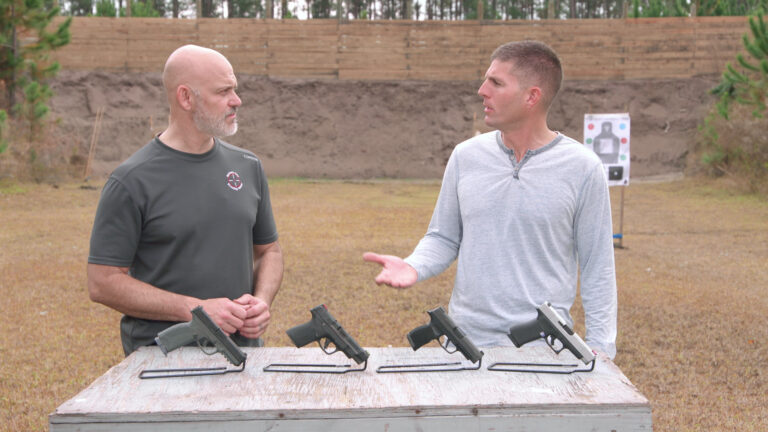
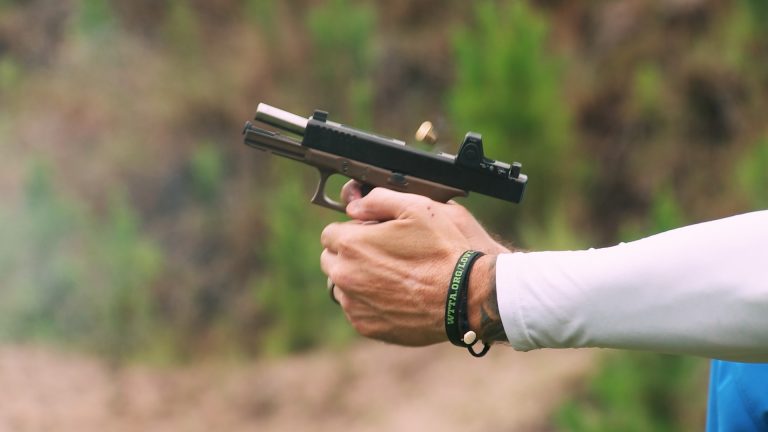
Rob PincusClaude Werner and Rob Pincus demonstrate a training session for dryfire practice with a handgun.
Share tips, start a discussion or ask one of our experts or other students a question.
Already a member? Sign in
2 Responses to “Dryfire Practice With A Training Partner”
Explore videos by Rob Pincus


You may be interested in

Premium Membership
Unlock exclusive member content from our industry experts.
- 24/7 Access to Premium Personal Defense and Firearm Training Videos and Drills
- Step-by-Step Instructional Demos and Guides
- 50% Off Video Downloads Purchased in the Personal Defense Network Shop
- Access to Ask the Expert Program
Unlock exclusive member content from our industry experts.
- 24/7 Access to Premium Personal Defense and Firearm Training Videos and Drills
- Step-by-Step Instructional Demos and Guides
- 2 Full-Length Video Downloads to Watch Offline
- 50% Off Video Downloads Purchased in the Personal Defense Network Shop
- Access to Ask the Expert Program
Gold Membership
$340 Value
Get everything included in Premium plus exclusive Gold Membership benefits.
- 24/7 Access to Premium Personal Defense and Firearm Training Videos and Drills
- Step-by-Step Instructional Demos and Guides
- 9 Full-Length Video Downloads to Watch Offline
- 2 Full-Length Personal Defense Classes to Keep for Life
- 2 In-Depth Skill Development Presentations
- Discounts on Purchase-to-Own Content in the Personal Defense Network Shop
- Access to Ask the Expert Program
- Exclusive GOLD LIVE Streaming Events
Awesome video. I will be checking out the site for more.
Very good! I learned a lot. Thanks